During our recent trip to Spain and France, we visited one of our favorite suppliers, Lékué, to see how their products are designed and manufactured in their offices and factory outside of Barcelona. We learned a lot from this visit and want to share with you how Lékué turns Platinum Silicone into the range of products we know and love.
Read more
Posted in Cool Tippan class="mst-search__highlight">s By Piper Cole
Follow us in excruciating, but delicious, detail of our meals at 2 3-star and 2 1-star restaurants in Spain.
Read more
Posted in Cool Tippan class="mst-search__highlight">s By Piper Cole
What do you do if you want to make poached eggs for a crowd? Here's an easy answer...
Read more
Posted in Cool Tippan class="mst-search__highlight">s By Piper Cole
We're starting the Fast Metabolism Diet and thought it would be fun to share with you what we're eating, what Cool Tools we're using and how it's going.
Read more
Posted in Cool Tippan class="mst-search__highlight">s By Piper Cole
Not all microwaves are the same. Here are some tips to make yours work better for you.
Read more
Posted in Cool Tippan class="mst-search__highlight">s By Piper Cole
We're starting the Fast Metabolism Diet and thought it would be fun to share with you what we're eating, what Cool Tools we're using and how it's going. Here's Week 1
Read more
Posted in Cool Tippan class="mst-search__highlight">s By Piper Cole
We're starting the Fast Metabolism Diet and thought it would be fun to share with you what we're eating, what Cool Tools we're using and how it's going. Here's Week 2
Read more
Posted in Cool Tippan class="mst-search__highlight">s By Piper Cole
Here's why you shouldn't put tomatoes in the refrigerator...ever!
Read more
Posted in Cool Tippan class="mst-search__highlight">s By Piper Cole
Compound butters add a whole lot of flavor...
Read more
Posted in Cool Tippan class="mst-search__highlight">s By Piper Cole
What's in your basket? Guide to a great picnic infrastructure.
Read more
Posted in Cool Tippan class="mst-search__highlight">s By Piper Cole
Confused about all the choices from Charles Viancin? ... You're not alone
Here's our attempt to make the choices a little easier
Read more
Posted in Cool Tippan class="mst-search__highlight">s By Piper Cole
Make a delicious soup from 3 ingredients from Trader Joe's and almost no time investment!
Read more
Posted in Cool Tippan class="mst-search__highlight">s By Piper Cole
Choosing, preparing, and cooking asparagus...
Read more
Posted in Cool Tippan class="mst-search__highlight">s By Piper Cole
I don’t know about you, but every doctor and nutritionist we’ve talked to lately has preached, “Eat more oats!” Sometimes, we just feel like saying: Neigh! But we've found a better alternative...
Read more
Posted in Cool Tippan class="mst-search__highlight">s By Piper Cole
Slice Across the Grain! We’ve all read this, and been told this, more times than we can remember … and still we forget … what does this mean? Why does this matter? And how do we do it?
Read more
Posted in Cool Tippan class="mst-search__highlight">s By Piper Cole
Oh how we love a beautiful cheese course at the end of a meal! We picked up this habit traveling in Europe and often substitute it for dessert. This ritual, whether as a prelude to dessert or in its place, has become much more familiar and appreciated here in the US.
Read more
Posted in Cool Tippan class="mst-search__highlight">s By Piper Cole
With Downton Abbey just over for the season and Mr. Selfridge just getting underway for its second season, I’ve been doing a little reading, some testing, and a lot of thinking about tea. I’ve come up with three conclusions:
Read more
Posted in Cool Tippan class="mst-search__highlight">s By Piper Cole
Ask any woman, and she’ll tell you that guys who cook are catnip. They have a sexy self confidence and aren’t afraid to experiment. It also shows a nurturing side that is very appealing.
Read more
Posted in Cool Tippan class="mst-search__highlight">s By Piper Cole
As the Holidays come to a close and you begin the inevitable cleanup from the flurry of the season, don’t forget your Gift Closet. It can be a closet, or a drawer, or simply the corner of a shelf somewhere. It has a critical role throughout the year, but this seems to be the time of year when it needs your particular attention.
Read more
Posted in Cool Tippan class="mst-search__highlight">s By Piper Cole
I have a love/hate relationship with piping bags ...I love the results, but I get frustrated by the process... Here are some solutions.
Read more
Posted in Cool Tippan class="mst-search__highlight">s By Piper Cole
Did you know that you have a great steak gauge at the end of your arm? Pretty handy (yes, OK, pun intended).
Depending on which finger you use to touch your thumb, the fleshy part at the base of your thumb will simulate the feel of a steak that is rare, medium rare, medium, or well done.
Read more
Posted in Cool Tippan class="mst-search__highlight">s By Piper
|
I love fresh water chestnuts. But fresh water chestnuts have about as much in common with the ones that come in a can as beautiful fresh green beans have with canned green beans--there is no comparison.
Fresh water chestnuts have a sweetness and crunch that adds a wonderful touch to Asian (or any) soups and salads. The only problem is that it is really difficult to find fresh water chestnuts, even at the Asian grocery stores. So, we had to look for a substitute. And we found one that was pretty close in both taste and crunch: jicama!
|
Read more
Posted in Cool Tippan class="mst-search__highlight">s By Piper Cole
I'd always admired those beautiful shimmering citrus segments with no extraneous membranes or other nasty bits, but I thought it was beyond my skill level to actually get them that way. I was wrong. Suprêming a citrus is actually very easy, once you get the hang of it, and, in fact, rather satisfying when you see...and taste the results. Here's how you do it:
Read more
Posted in Cool Tippan class="mst-search__highlight">s By Piper Cole
Nearly as elusive as the search for true love, an honest man, or the perfect pair of jeans is the search for a hard-cooked egg that is consistently easy to peel. Today that search is over. Here is the answer: Steam it!
Read more
Posted in Cool Tippan class="mst-search__highlight">s By Piper
Probably the scariest thing about making a soufflé is folding in the egg whites. You just finish beating the egg whites to get all this air into them, and then you have to take this fragile fluffy cloud and fold it into some really dense heavy stuff (your soufflé base), and you're cautioned that if you do it wrong, your soufflé won't rise and you'll have an ugly mess on you hands (or, more importantly, in your dish!)
Read more
Posted in Cool Tippan class="mst-search__highlight">s By Piper Cole
It's always important to have the oil in your pan hot enough before you add your other ingredients, otherwise they don't cook quite as well as you'd like. Until I learned this trick, I always held my palm over the pan and then guessed; this method takes the guesswork out of it.
Read more
Posted in Cool Tippan class="mst-search__highlight">s By Piper Cole
Aluminum is a great conductor, and conducts the cold of a frozen object away, making that object thaw more quickly--simple physics! We did an experiment with an ice cube on both a ceramic plate and a quarter sheet aluminum pan. After 4 minutes, you can see the difference above: the ice cube on the aluminum pan is half melted, while the ice cube on the plate is still completely frozen. This is the same principle behind those "As Seen on TV" magic defrosters, so save your money and use what's already in your kitchen.
Read more
Posted in Cool Tippan class="mst-search__highlight">s By Piper Cole
If you read the Guilt-Free Panna Cotta recipe in Monday's Newsletter, you may have noticed an ingredient called "Faux Fromage Frais", which translates to Fake Fresh Cheese. Here's the back story and some great uses for this very handy, non-fat ingredient, that we use almost daily.
Read more
Posted in Cool Tippan class="mst-search__highlight">s By Piper Cole
Archimedes, one of the leading mathematicians in ancient Greece, discovered the way to measure the volume of irregular objects through the principle of displacement: if you put an object into liquid, the amount of liquid displaced, is equal to the volume of the object. (And you thought you would learn only about cooking in these Newsletters...) It is said that he discovered this when he was in the bath and noticed how the water overflowed the tub when he got in. He was so excited that he jumped out of the tub shouting ”Eureka” and running through the streets of Syracuse stark naked.
Read more
Posted in Cool Tippan class="mst-search__highlight">s By Piper Cole
Has this ever happened to you? You're cracking (and maybe separating) several eggs for a dish; everything is going swimmingly, and then you crack the last egg, and... Ooops! You have a mishap! You get shells in your bowl that you can't fish out, or (if you're separating eggs) you get some yolk in your whites, and you have to throw the whole mess out and start over. I hate it when that happens.
Read more
Posted in Cool Tippan class="mst-search__highlight">s By Piper Cole
Hiccups are one of those things that aren’t really serious, but they are really annoying, to yourself, and to those around you...and sometimes embarrassing!
Read more
Posted in Cool Tippan class="mst-search__highlight">s By Piper Cole
Beans, although full of nuitrition, can have some unwelcome side effects. But they don't have to.
Read more
Posted in Cool Tippan class="mst-search__highlight">s By Piper Cole
Ravioli can be a little packet of wonderfulness. You can fill it with wild mushrooms, like the recipe on the right, a savory pumpkin mix, or just about anything you can think of. The possibilities are endless. But making the pasta yourself, while absolutely feasible, is not something many of us (me included) want to tackle. Well, you can tickle your tastebuds and impress your friends, all with very little work.
Read more
Posted in Cool Tippan class="mst-search__highlight">s By Piper Cole
The trick to finding that elusive balance between too hard and mushy ... how to make perfect wild rice.
Read more
Posted in Cool Tippan class="mst-search__highlight">s By Piper Cole
It was one of those "15 minutes of fame" things that I didn't even know was happening. A work colleague sent me an email, asking if this was me in the latest issue of Cook's Illustrated. What? Really? My issue hadn't arrived yet, so I had to try to find it at a newstand...and sure enough, in the January & February 2005 issue...
Read more
Posted in Cool Tippan class="mst-search__highlight">s By Piper Cole
Every meat person knows that the elusive and ultimate expression of the art of cooking meat is a beautiful seared crust. Here are a few tips on how to achieve it:
Read more
Posted in Cool Tippan class="mst-search__highlight">s By Piper Cole
The first question you may ask, before you get to the "how", is "why chiffonade?"
The answer: …Beauty, Flavor, Style …
Read more
Posted in Cool Tippan class="mst-search__highlight">s By Piper Cole
What do you do with any potatoes you have to give them the best chance of lasting until you're off your diet? Here's a tip from Cooks Illustrated that should help:
Read more
Posted in Cool Tippan class="mst-search__highlight">s By Piper Cole
Salmon skin can be a bother, but it can also be a bonus! Here are a few tricks:
Read more
Posted in Cool Tippan class="mst-search__highlight">s By Piper Cole
Preserved lemons, salt-cured lemon rinds, are a key ingredient in many Moroccan dishes, but they also provide a wonderful hit of flavor in many other dishes as well. We sometimes take a few preserved lemon quarters, some confited garlic (future Cool Tip) and some chipotle in adobo, pulverize them together in a food processor, and use that as a wet rub on a pork loin roast that we finish on the grill.
Preserved lemons are available in speciality food stores, but with a little planning (they take a while to get to cure) you can easily make them yourself. Here's how...
Read more
Posted in Cool Tippan class="mst-search__highlight">s By Piper Cole
I have salad envy; specifically French salad envy. You can go into any little bistro in Paris and get a salad that is simple, beautiful, light and delicate. And try as I might, I couldn't reproduce that at home. Now of course the greens are an issue, but you should be able to get good greens from a good green grocer, a farmer's market or your own garden. The elusive element has always been the dressing. Even with the best olive oil and vinegar, mine never tasted the same.
Read more
Posted in Cool Tippan class="mst-search__highlight">s By Piper Cole
One of the most luxurious and impressive meats you can prepare, share and enjoy is fresh magret, the breast of a fattened duck. The texture is like velvet, the flavor is like heaven, and the preparation is like child's play!
Read more
Posted in Cool Tippan class="mst-search__highlight">s By Piper Cole
Actually there are two questions when it comes to wine breathing: the first is "whether" and the second is "how".
Read more
Posted in Cool Tippan class="mst-search__highlight">s By Piper Cole
How to get more juice out of a lemon.
Read more
Posted in Cool Tippan class="mst-search__highlight">s By Piper Cole
How to make candied citrus zest.
Read more
Posted in Cool Tippan class="mst-search__highlight">s By Piper Cole
How to make a Better Lemon Wedge.
Read more
Posted in Cool Tippan class="mst-search__highlight">s By Piper Cole
How to get the most out of your pump sprayer.
Read more
Posted in Cool Tippan class="mst-search__highlight">s By Piper Cole
It's easy to make your own blanched almonds.
Read more
Posted in Cool Tippan class="mst-search__highlight">s By Piper Cole
What to look for in choosing a pineapple. It may not be what you've always thought.
Read more
Posted in Cool Tippan class="mst-search__highlight">s By Piper Cole
Tennis ball can covers have an after-life.
Read more
Posted in Cool Tippan class="mst-search__highlight">s By Piper Cole
Why do you need to mix your thickening starch with water?
Read more
Posted in Cool Tippan class="mst-search__highlight">s By Piper Cole
Here are some great tips from Mark Bittman on shrimp!
Read more
Posted in Cool Tippan class="mst-search__highlight">s By Piper Cole
A new trick to make the perfect martini!
Read more
Posted in Cool Tippan class="mst-search__highlight">s By Piper Cole
Here are a few tips on ho to enjoy the new/old superfood: Pomegranates!
Read more
Posted in Cool Tippan class="mst-search__highlight">s By Piper Cole
We talk about Stainless Steel ratings ...usually 18/8 or 18/10 in cookware or flatware. But what do these numbers mean? And which rating is “better”? Discuss!
Read more
Posted in Cool Tippan class="mst-search__highlight">s By Piper Cole
We started this experiment 2 weeks ago, and we thought you'd like to see the updated photos... Frankly, we were amazed that it worked so well. We've added more green onions as we went along, but the longest are the ones that were the in photo below. We reprinted the Cool Tip, in case you missed it the first time.
Read more
Posted in Cool Tippan class="mst-search__highlight">s By Piper Cole
If we had to pick one sandwich to take with us if we were stranded on a deserted island, then it would be New Orleans’ incomparable Muffuletta. It’s a 10-inch round loaf of bread, cut horizontally and layered with a variety of Italian meats, cheeses, and a garlicky olive salad.
Read more
Posted in Cool Tippan class="mst-search__highlight">s By Piper Cole
A frequently-asked question for the Home Cook is: what do I really need to keep my knives sharp?
Read more
Posted in Cool Tippan class="mst-search__highlight">s By Piper Cole
Don’t you just hate it when you cut up an apple, pear, avocado, banana, etc. and it turns brown in just minutes? It makes it tough to prepare your ingredients ahead of time (make your mipan class="mst-search__highlight">se-en-place). So, why does this happen and how can you stop it?
Read more
Posted in Cool Tippan class="mst-search__highlight">s By Piper Cole
Over the years we’ve all had various iterations of “non-stick” cookware. The attractions of cooking with less (or no) oil and easy cleanup have always been strong. But problems of durability and concerns over chemical toxicity have fueled debate over the years.
Read more
Posted in Cool Tippan class="mst-search__highlight">s By Piper Cole
Your microwave is not just for reheating coffee or melting butter. Nathan Myhrvold has called its capabilities “underappreciated” and Mark Bittman wanted to rename it “the whiz-bang steaming oven”. We love it for cooking bacon, and Kennedy’pan class="mst-search__highlight">s Favorite Chicken is a microwave reengineered recipe that reduces over an hour of stovetop cooking time to 15 minutes in the microwave (and the results are better, too). And everyday we’re discovering more ways it can produce wonderful food quickly. So how is this all possible?
Read more
Posted in Cool Tippan class="mst-search__highlight">s By Piper Cole
It’s that time of year when entertaining heats up, and house visits and dinner parties abound. While a lot of what follows is common sense, sometimes we get so busy that we forget. So here are a few simple suggestions that we’ve found help us, and we hope will help you, to be great guests.
Read more
Posted in Cool Tippan class="mst-search__highlight">s By Piper Cole
Many of our favorite vegetables have a high water content: zucchini, cucumbers, eggplant (OK: my fave, but not Piper’s!), and more. And if you try to cook them just as they come in from the garden, that extra water will effectively poach the vegetable, turning it into a soggy, tasteless (or, worse, bad tasting) mess, and it will dilute any sauce or dressing you try to serve with it. So you need to remove a significant percentage of that water, and you do that with salt.
Read more
Posted in Cool Tippan class="mst-search__highlight">s By Piper Cole
So … the summer season is starting to wind down - the grape harvest is in full-swing here in Napa Valley - and we all are searching for more ways to enjoy the abundance of zucchinis, cucumbers, and eggplants … from our own garden, your friends’ gardens, or the farmers’ markets … before winter descends. And as we approach this bounty, with a variety of recipes in mind, the fundamental question is ...to salt or not to salt?
Read more
Posted in Cool Tippan class="mst-search__highlight">s By Piper Cole
Once you have the pan class="mst-search__highlight">salsa, making the guacomle is a snap!
Read more
Posted in Cool Tippan class="mst-search__highlight">s By Piper Cole
Here are some of our favorite Chanukah videos...we apologize in advance if any offend...
Read more
Posted in Cool Tippan class="mst-search__highlight">s By Piper Cole
Here are the menu and recipes for a dinner party that we offered, with some wonderful partners, as an auction lot to support a very worthy cause. Our partners were Vivier WInepan class="mst-search__highlight">s, a marvelous wine producer that blends the ancient traditions of French winegrowing with the youthfulness and potential of American vineyards and Hip pan class="mst-search__highlight">Shakes, a wonderful band featuring Joe Shotwell. Beverly Shotwell was our photographer and amazing helper in all things.
Read more
Posted in Cool Tippan class="mst-search__highlight">s By Piper Cole
Here's how to eat your onions, and have them too...
Read more
Posted in Cool Tippan class="mst-search__highlight">s By Piper Cole
My parents always loved caviar. It's a special treat that they never took for granted. They especially enjoyed it during the holiday season, and my mother had a way to make serving caviar easier.
Read more
Posted in Cool Tippan class="mst-search__highlight">s By Piper Cole
As we cook more during the Holiday Season, cooking odors inevitably fill the air.
Many of them are wonderful: spicy cookies, roast turkey, mushrooms ....
But other foods taste better than the smell they leave behind (think fish or brussels sprouts). What’s a cook to do?
Read more
Posted in Cool Tippan class="mst-search__highlight">s By Piper Cole
We just had to share this Thanksgiving recipe from a friend's 5 1/2 year old grand niece...
Read more
Posted in Cool Tippan class="mst-search__highlight">s By Piper Cole
As you contemplate your Thanksgiving leftovers (after, of course, checking out the Black Friday deals), one of the most popular is turkey soup--you have a roasted turkey carcass with the potential to make a great flavor base for your soup. As you embark on this soup adventure, keep one thing in mind: temperature!
Read more
Posted in Cool Tippan class="mst-search__highlight">s By Piper Cole
As the saying goes, “everything is better with Bacon!” A chef friend calls it “Vitamin P” ...essential to a daily balanced diet! But how to cook it?
Read more
Posted in Cool Tippan class="mst-search__highlight">s By Piper Cole
Alton Brown has two rules when it comes to cooking with wine: Rule 1: Never cook with cooking wine. Rule 2: NEVER COOK WITH COOKING WINE.
These are necessary, but insufficient rules. The Colbrook Kitchen rule is: Never put any alcohol in your food that you wouldn't be willing to consume from a glass.
Read more
Posted in Cool Tippan class="mst-search__highlight">s By Piper Cole
It's the beginning of truffle season, and if you're fortunate to have access to fresh truffles, here are some tips for storage:
Read more
Posted in Cool Tippan class="mst-search__highlight">s By Piper Cole
Here's a tip just in time for the holidays from our wonderful friend Willi (who gets 100 Cooks' Club Points for submitting a tip we used.)
Read more
Posted in Cool Tippan class="mst-search__highlight">s By Piper Cole
If you have or have access to raw olives, here's one way to process them into something wonderfully edible.
Read more
Posted in Cool Tippan class="mst-search__highlight">s By Piper Cole
We always end up with small pieces of different cheeses leftover ...and by the time we re-discover them in the refrigerator, they’re often in various stages of drying out, growing some of their natural molds, and generally deteriorating (even with the great Cheepan class="mst-search__highlight">se Paper, it doesn't extend the life of the cheese forever) …. But there is no reason to toss them: these are the basic ingredient in a French staple: Fromage Fort!
Read more
Posted in Cool Tippan class="mst-search__highlight">s By Piper Cole
Here are some Whys and Hows of marinating to make it easier.
Read more
Posted in Cool Tippan class="mst-search__highlight">s By Piper Cole
One of the reasons that many cooks have a fear of desserts is that it’s really a fear of baking. While cooking has a lot of forgiveness in the measurement of ingredients, baking has almost none. And one ingredient in particular, flour, is actually extremely tricky. You can measure it in a very good dry measuring cup, but even then your results will be far from consistent.
Read more
Posted in Cool Tippan class="mst-search__highlight">s By Piper Cole
California recently joined 32 other states in promoting community-based food production, sometimes referred to as “cottage food,” “artisanal food,” “slow food,” “locally based food,” or “urban agriculture” movements. These laws allow small business entrepreneurs to use their home kitchens to prepare, for sale, foods that are not potentially hazardous.
Read more
Posted in Cool Tippan class="mst-search__highlight">s By Piper Cole
Every cooking surface needs a little lubricant to avoid sticking food, and your Grill is no exception! After you’ve scraped to achieve a nominally clean surface, you need to oil that surface.
Read more
Posted in Cool Tippan class="mst-search__highlight">s By Piper Cole
It’s almost truffle season, when the wonderful earthy smell of fresh truffles can take almost any dish to the next level. But you don’t have to wait for truffle season or shell out a whole lot of money to have a little touch of that magic at home.
Read more
Posted in Cool Tippan class="mst-search__highlight">s By Piper Cole
Ever notice how sometimes the water in a good restaurant just tastes better? Or when you've been lucky enough to go to a lovely spa, the water just makes you feel, well, coddled. It's simple to duplicate that subtle flavor that takes water to the next level.
Read more
Posted in Cool Tippan class="mst-search__highlight">s By Piper Cole
So we love chilis ...and we know that many of you do too! We have a dozen varieties growing in our garden, ranging from sweet to very hot …. We smoke many of these - creating a wide range of chipotles - but all of them are so much better fresh. And as the season goes longer, the fresh chilis get hotter ….
Read more
Posted in Cool Tippan class="mst-search__highlight">s By Piper Cole
We first discovered Perfect Spice, a Canadian product, many years ago when our friends from Canada brought about a case with them and produced a bottle, like magic, at every meal… what a revelation! It made everything we sprinkled it on taste better.
Read more
Posted in Cool Tippan class="mst-search__highlight">s By Piper Cole
A guide to art and wine in the WIne country...
Read more
Posted in Cool Tippan class="mst-search__highlight">s By Piper Cole
Some basic concepts in food and wine pairing...
Read more
Posted in Cool Tippan class="mst-search__highlight">s By Piper Cole
Avoid zucchini rash with loooong garden gloves...
Read more
Posted in Cool Tippan class="mst-search__highlight">s By Piper Cole
Use chopsticks when canning...
Read more
Posted in Cool Tippan class="mst-search__highlight">s By Piper Cole
Use gloves to rub in rubs...
Read more
Posted in Cool Tippan class="mst-search__highlight">s By Piper Cole
This is the coolest way we've seen to separate eggs...
Read more
Posted in Cool Tippan class="mst-search__highlight">s By Piper Cole
Almonds--the healthy snack...
Read more
Posted in Cool Tippan class="mst-search__highlight">s By Piper Cole
Here's a fun way to get all the benefits of greens in a snack...
Read more
Posted in Cool Tippan class="mst-search__highlight">s By Piper Cole
A good mise en place makes cooking easier...
Read more
Posted in Cool Tippan class="mst-search__highlight">s By Piper Cole
Here's an easy way to peel a tomato...
Read more
Posted in Cool Tippan class="mst-search__highlight">s By Piper Cole
How to Keep Basil Fresh Longer...
Read more
Posted in Cool Tippan class="mst-search__highlight">s By Piper Cole
The easiest way we've found to steam asparagus...
Read more
Posted in Cool Tippan class="mst-search__highlight">s By Piper Cole
There are so many reasons and occasions to give gifts: birthdays, engagements, weddings, anniversaries, special events, Christmas, Chanukah, Kwanzaa, Mother's Day, Father's Day, Valentines Day, hostess, thank you...and the list goes on. Wouldn’t it be great to get or give something that was truly wanted? Think of a Gift Registry as a wishlist with benefits--the benefits being that you can share it with others.
Read more
Posted in Cool Tippan class="mst-search__highlight">s By Piper Cole
Cooked cheese can add a savory hit of flavor to many dishes.
Read more
Posted in Cool Tippan class="mst-search__highlight">s By Piper Cole
Getting the corn out of its husk and silk can often be a challenge, but there’s something that you probably already have in your kitchen that can offer some help: your microwave!
Read more
Posted in Cool Tippan class="mst-search__highlight">s By Piper Cole
What do you do when your brown sugar is rock hard?
Read more
Posted in Cool Tippan class="mst-search__highlight">s By Piper Cole
What's the best way to measure honey for a recipe?
Read more
Posted in Cool Tippan class="mst-search__highlight">s By Piper Cole
How do you make order out of the chaos of your kitchen tools?
Read more
Posted in Cool Tippan class="mst-search__highlight">s By Piper Cole
How do you make a parchment circle without a compass or a model?
Read more
Posted in Cool Tippan class="mst-search__highlight">s By Piper Cole
Ever wonder how all those lovely shumai and other dim sum get assembled, just so perfectly?
Read more
Posted in Cool Tippan class="mst-search__highlight">s By Piper Cole
Don't throw away that cheese rind--it adds great depth to your soup...
Read more
Posted in Cool Tippan class="mst-search__highlight">s By Piper Cole
Here's how to hold poached eggs, so they're ready when you are...
Read more
Posted in Cool Tippan class="mst-search__highlight">s By Piper Cole
Why are there so many different cutting boards? Do you really need more than one?
Read more
Posted in Cool Tippan class="mst-search__highlight">s By Piper Cole
Here's how to tell when you pasta is done...
Read more
Posted in Cool Tippan class="mst-search__highlight">s By Piper Cole
How can you make your scrambled eggs fluffy and creamy? Check it out...
Read more
Posted in Cool Tippan class="mst-search__highlight">s By Piper Cole
Find out how to extend the life of your berries in the refrigerator...
Read more
Posted in Cool Tippan class="mst-search__highlight">s By Piper Cole
Here are some great ways to use and improve your cocktail shaker...
Read more
Posted in Cool Tippan class="mst-search__highlight">s By Piper Cole
Why are there different measuring cups for wet and dry ingredients?
Read more
Posted in Cool Tippan class="mst-search__highlight">s By Piper Cole
It’s tomato planting season, which means that we not only search for the perfect tomato seedlings, but, almost as important, the perfect way to support them as they grow. Tomatoes always seem to outgrow their cages, and the commercially available cages just aren’t all that attractive or effective.
Read more
Posted in Cool Tippan class="mst-search__highlight">s By Piper Cole
Easy steps to caramelizing sugar.
Read more
Posted in Cool Tippan class="mst-search__highlight">s By Piper Cole
Even in the best non-stick skillets, it helps to have a little oil to make everything cook and taste better, but if you're watching your weight, that can be a source of extra calories. Here's a trick to minimize the amount of oil you use.
Read more
Posted in Cool Tippan class="mst-search__highlight">s By Piper Cole
Great way to get just the right amount of goat cheese on your dish.
Read more
Posted in Cool Tippan class="mst-search__highlight">s By Piper Cole
One of the kitchen smells that lingers longer than any other seems to be the smell of garlic, particularly on your hands. As much as we love it on food, and we do ... but on our hands when we leave the kitchen, not so much!
Read more
Posted in Cool Tippan class="mst-search__highlight">s By Piper Cole
One of the worst things you can do when preparing fresh chilies is to clean them with bare hands, and then (usually inadvertently) rub your nose/eyes/elsewhere, with fingers that still have traces of the oil from the chili - the capsicum. Ouch! Unpleasant! Painful! Annoying! Even if you wash your hands several times, the oil sticks to them persistantly, and you're never assured that there won't be pain.
Read more
Posted in Cool Tippan class="mst-search__highlight">s By Piper Cole
An inevitable by-product of Holiday excesses is a … choose your own label: hangover, sour stomach, upset tummy … you know. And there are many patent medicine vendors who will swear their products will relieve your problem.
But one of the oldest, simplest, most effective, and most refreshing remedies is Bitters in Soda (carbonated water).
Read more
Posted in Cool Tippan class="mst-search__highlight">s By Piper Cole
This makes one of the most romantic, and certainly one of the healthiest, breakfasts we know ....
Read more
Posted in Cool Tippan class="mst-search__highlight">s By Piper Cole
Now that we’ve passed the first anniversary of Colbrook Kitchen, we thought we’d share how we got started on this adventure.
Read more
Posted in Cool Tippan class="mst-search__highlight">s By Piper Cole
How do you make the marriage of pasta and sauce work? We found a very Cool Tip to do this!
Read more
Posted in Cool Tippan class="mst-search__highlight">s By Piper Cole
Posted in Cool Tippan class="mst-search__highlight">s By Piper Cole
This is a great way to add a hit of flavor straight out of your freezer!
Read more
Posted in Cool Tippan class="mst-search__highlight">s By Piper Cole
Here's the easiest way yet to make homemade mayonnaise...
Read more
Posted in Cool Tippan class="mst-search__highlight">s By Piper Cole
There is a definite connection between romance & food, here's some information to help understand it...
Read more
Posted in Cool Tippan class="mst-search__highlight">s By Piper Cole
An easy way to dress up your dining table.
Read more
Posted in Cool Tippan class="mst-search__highlight">s By Piper Cole
Have you ever wondered why some steel knives need to be sharpened all the time, while others seem to hold their edge for much longer?
Read more
Posted in Cool Tippan class="mst-search__highlight">s By Piper Cole
And you thought avocados were just for guacamole...
Read more
Posted in Cool Tippan class="mst-search__highlight">s By Piper Cole
Nuts are so good for you--here are some of the reasons why...
Read more
Posted in Cool Tippan class="mst-search__highlight">s By Piper Cole
Know how to read a recipe--this Cool Tip provides some good advice on interpreting reciipes.
Read more
Posted in Cool Tippan class="mst-search__highlight">s By Piper Cole
With the Olympics in Rio just around the corner, a lot of our drinking attention will be focused on Caipirinha (pronounced kie-purr-REEN-yah), the national drink of Brazil.
Read more
Posted in Cool Tippan class="mst-search__highlight">s By Piper Cole
Piper to Universe: Why didn’t anybody tell me about pasta water? It used to be the detritus that I eagerly threw away after making pasta...now I realize: it’s pasta magic!
Read more
Posted in Cool Tippan class="mst-search__highlight">s By Piper Cole
Note to self: Idiot, plug in the mixer before you add the ingredients!
Read more
Posted in Cool Tippan class="mst-search__highlight">s By Piper Cole
Here's the key to great roast chicken!
Read more
Posted in Cool Tippan class="mst-search__highlight">s By Piper Cole
This should be the Flower of the Month for January.
Read more
Posted in Cool Tippan class="mst-search__highlight">s By Piper Cole
We love avocados...not just for the health benefits, which are legion, but for the way it just feels so creamy and luxurious in our mouths. But now there seems to be a new recognition of the dangers lurking in and around that beautiful fruit, or at least in its preparation. See this article from the May 10, 2017, ipan class="mst-search__highlight">ssue of The Times of London….
Holy guacamole, that’s got to hurt!
Gurpreet Narwan
May 10 2017, 12:01 am, The Times
Jamie Oliver has posted a one-minute video to prevent more cases of “avocado hand”. Right, Meryl Streep also got caught out
No self-respecting bruncher would consider a late breakfast without a little smashed avocado on toast — but for many it comes at a high price.
Surgeons say growing numbers of amateur chefs are reporting to accident and emergency departments with what they are calling “avocado hand”: serious stab and slash injuries that are the result of failed attempts to penetrate the fruit’s hard outer casing with a sharp knife before encountering a resistant inner stone.
The British Association of Plastic, Reconstructive and Aesthetic Surgeons is calling for safety labels on the fruit to staunch the flow of injured patients to hospitals. Many cases involve serious nerve and tendon injuries, requiring intricate surgery — and even then some patients never recover the full use of the hand.
Simon Eccles, secretary of the association and former president of the plastic surgery section of the Royal Society of Medicine, said: “People do not anticipate that the avocados they buy can be very ripe and there is minimal understanding of how to handle them. We don’t want to put people off the fruit but I think warning labels are an effective way of dealing with this. It needs to be recognisable. Perhaps we could have a cartoon picture of an avocado with a knife, and a big red cross going through it?”
Hard figures for “avocado hand” have not been collated but it is a global phenomenon: Meryl Streep was photographed with a bandaged hand in 2012 after the fruit fought back. In New Zealand more than 300 people have sued for compensation from avocado injuries in the past five years. The New York Times ran an article this month headlined: “How to cut an avocado without cutting yourself” after the wife of a staff member had to be treated in hospital for a deep wound.
At Chelsea and Westminster Hospital in London, Mr Eccles says he treats about four patients a week with avocado hand. Staff at St Thomas’ Hospital, in London, say they are well accustomed to the “post-brunch surge” on Saturdays….
Now think about how many times you’ve picked up a sharp knife to slice through an avocado and then banged the sharp edge of the knife into the avocado pit to dislodge it: all while holding the avocado in your hand. We’ve done it countless times, but now we think about the potential dangers to one of our favorite appendages.
But wait: there is no need to give up avocados, or to watch a how-to video every time you want avocado toast or to prepare guacamole, or to forgo drinking while preparing brunch. We’ve found a truly Cool Tool to deal very safely with avocados, and we can’t wait to tell you about it. Just glance here, and see what we’re talking about ....
Posted in Cool Tippan class="mst-search__highlight">s By Piper Cole
Here's a tip to take the hassle out of fresh ginger
Read more
Posted in Cool Tippan class="mst-search__highlight">s By Piper Cole
Here's a tip on how to bread something without creating a real mess...
Read more
Posted in Cool Tippan class="mst-search__highlight">s By Piper Cole
Attractive (and Long Lasting) DIY Tomato Supports

It’s tomato planting season, which means not only that we search for the perfect tomato seedlings but, almost as important, we need the perfect way to support them as they grow. Tomatoes always seem to outgrow their cages and commercially available cages just aren’t all that attractive or effective.
Several years ago, there was a wonderful, albeit short-lived, magazine called “Kitchen Garden” that covered everything from planting through harvesting to cooking your produce, with wonderful tips and advice. One day I voiced a long-held wish that we could find good-looking, effective tomato supports. The very next day, our latest issue of the magazine arrived and, lo and behold, (I’ve always wanted an excuse to use that phrase!) there was an article entitled “Support Your Vegetables in Style”. It recommended building a series of simple ladders that can be easily and dynamically hinged together in any configuration you want, year after year. We brought you the
inpan class="mst-search__highlight">structions for these ladders in a Cool Tip several years ago. We still love these ladders and there’s nothing like real wood. But fabrication can be difficult - you need to be able to drill 10 straight 1/2” holes per ladder - and wood deteriorates over time.
Here is our wood ladder graveyard:

So this year we decided to try something new: it turned out to be so easy and it should last for a long, long time. The new secret ingredient is PVC pipe. We had some left over from an irrigation project, but it’s relatively inexpensive at your local hardware or ag supply store.
Here’s what you need for each ladder:
- 8 - 12” PVC tubes (we used 3/4” diameter pipe because that’s what we had, but 1/2” or 1” would work as well; just pick a size for all your PVC components and stick with it.)
- 3 - 24” PVC tubes
- 6 PVC T-connectors (you can get these and the caps in colors to add a little pop to the ladders)
- 4 PVC caps - optional, but see Step 3 below.
- 4 eyebolts with nuts (we used 1/4” x 2 1/2”)
- 2 - 4’ garden stakes
The PVC lengths don’t have to be exact, but they should be consistent. We measured one piece of each size and then used that as a template to mark the other pieces.

Kennedy used an electric jigsaw (a PVC pipe cutter or a hacksaw with the right blade also will work) to cut the pieces as marked.

Assembly is super easy after you have cut all of the pieces. Here’s what to do:
1. Line up 4 - 12” tubes interspersed with 3 T-connectors and insert the ends of the 12” tubes into the T-connectors. That’s one side of a ladder. Now do the same thing with the remaining 4 - 12” tubes and 3 T-connectors. Make sure the T-connectors are all facing the same direction. At this point, you have the 2 side pieces of the ladder.

2. Now take one of the side pieces that you just assembled and insert 3 - 24” tubes into the 3 T-connectors. Then position the remaining side over the 3 - 24” tubes and insert the ends of those tubes into the 3 T-connectors on the opposite side piece. Gently tap into place. This is how your ladder should look at this point:
3. Put the caps on the top and bottom ends of each side piece. This is optional, but it looks cleaner, it covers up uneven cuts, and it will keep critters out of the tubes.
4. This next step was a source of disagreement in our house: should we drill the holes for the eyebolts before or after assembly? You need to drill holes (we used a 9/32 drill bit to allow the eyebolts to pass through smoothly) in half of the 12” tubes, and the holes have to go through both sides of the tube. My husband held the drill, so we went with his decision to drill after assembly. You need 2 holes in each side piece: one near the top and the other near the bottom. The holes should be in line with the 24” tubes. Although the spacing is not that important, don’t drill too close to either end of the 12” tubes. (Pro tip: don’t drill the holes in the exact same place on each ladder; when you connect the ladders in Step 6, you need a little vertical space between the eyebolts.)

5. Place the eyebolts in the drilled holes with the “eye” on the outside of the ladder: parallel to the ground. Anchor the eyebolts with the nut.
6. Now, once you have several ladders made, it’s time to assemble them in your garden. Just line up 2, 3 or 4 ladders with the eyebolts together, and run the garden stakes through the eyebolts, into the ground: creating whatever configuration suits the size and shape of your tomato bed.

These ‘ladders’ will provide sturdy support to your tomato plants, and they will disassemble and store easily after you’ve enjoyed your last tomatoes of the season.
Happy growing!
Posted in Cool Tippan class="mst-search__highlight">s By Piper Cole
What do you do with Rotisserie Chicken?
(Sung to the tune of “What Do You Do With a Drunken Sailor”)

Our recent practice during the pandemic (and it will probably continue after as well) is to go to Costco about once every 2 weeks. Each time, I buy 2 rotisserie chickens (just about the best $10 you can spend). Here’s what I do with it:
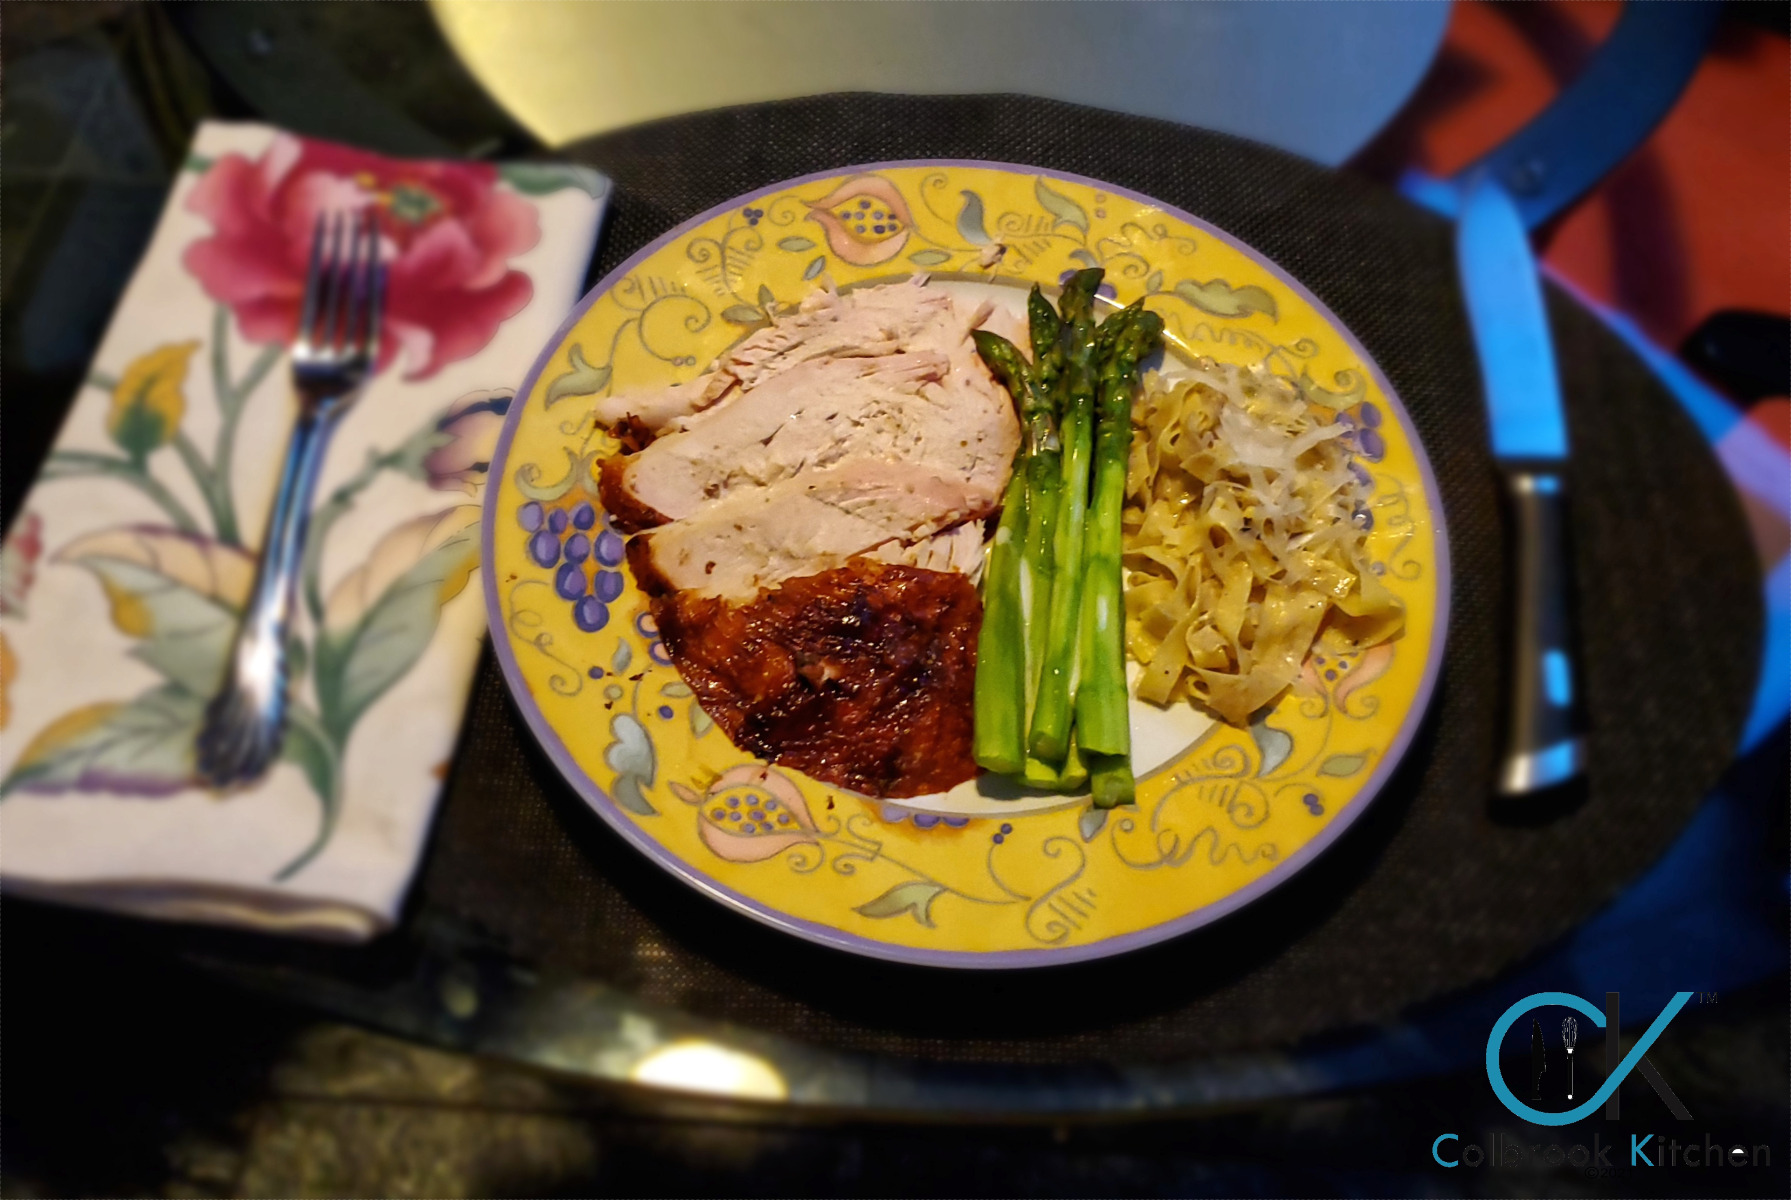
NIght 1: Sliced roast chicken with a veg and maybe a starch--in this case, microwave steamed peeled asparagus (1.5 minutes) with leftover hollandaise and homemade pasta with truffle butter and freshly grated parmesan cheese. Total time: about 15 minutes, including peeling the asparagus--it does make it taste better.
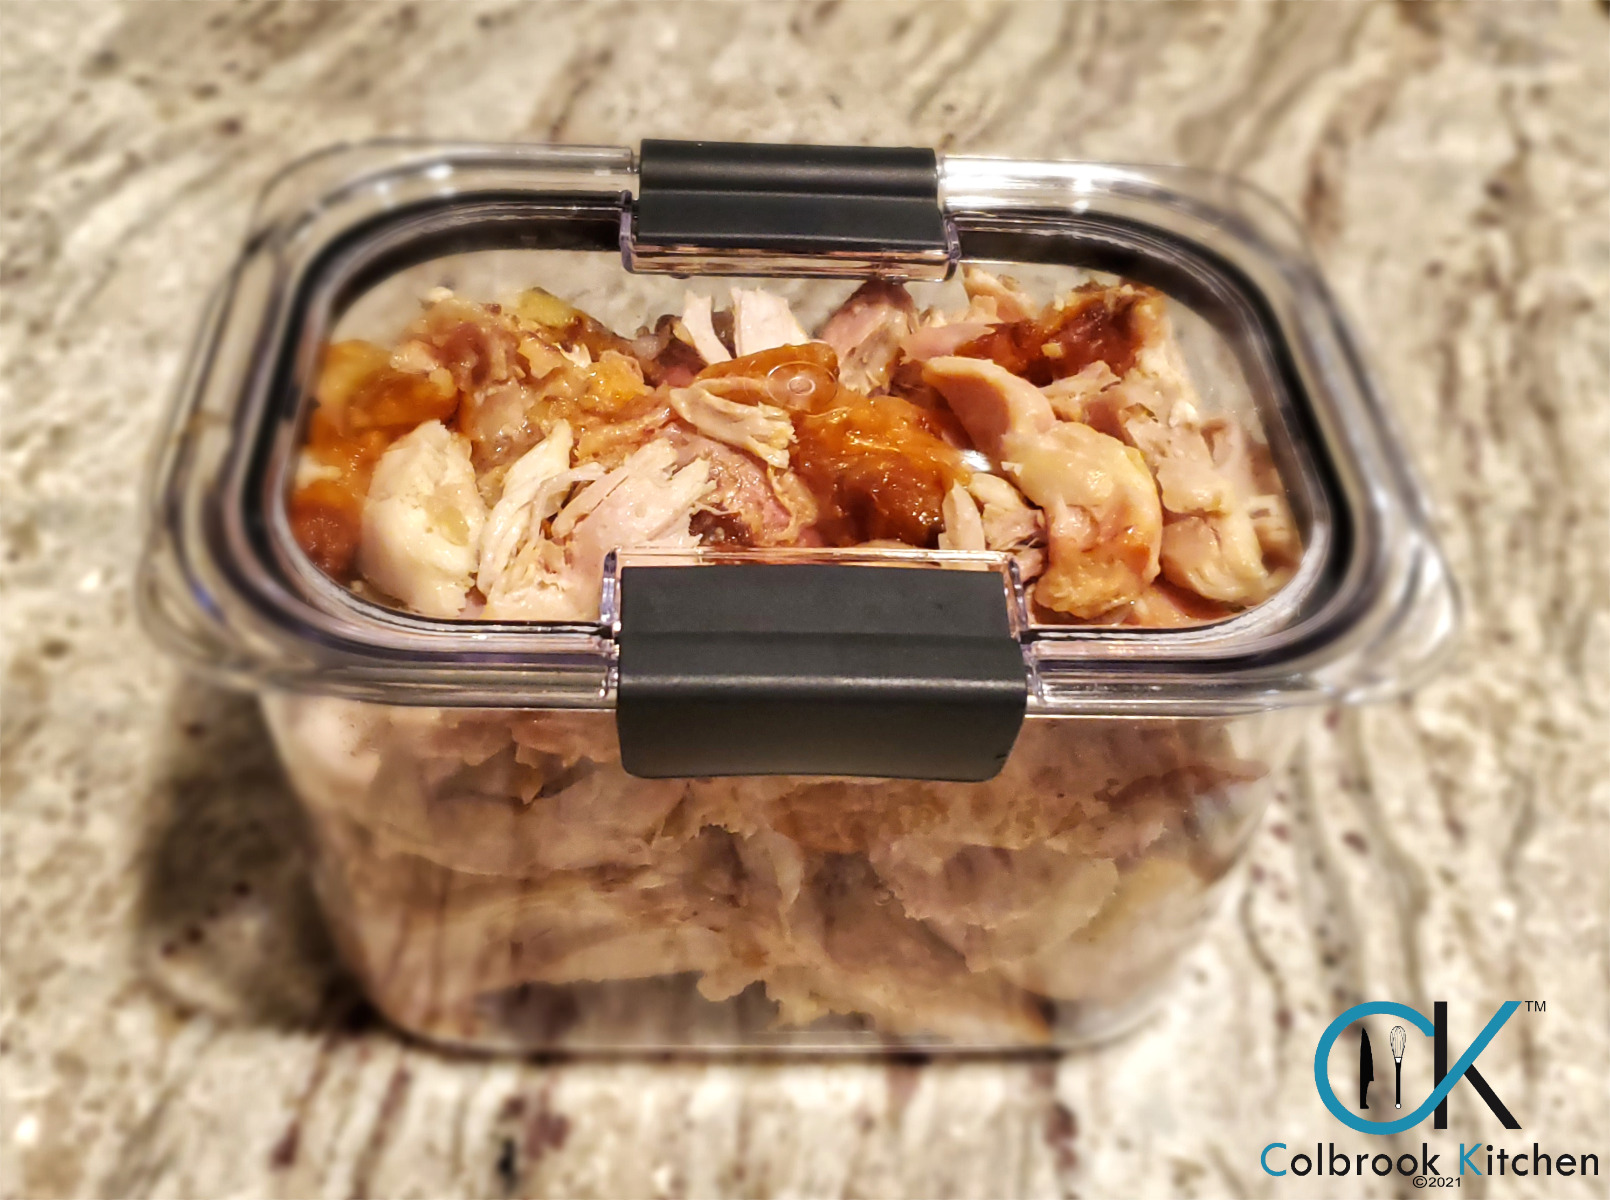
After dinner: I break down the rest of the chickens into chicken meat (to be used in salad, pasta, tacos, chicken salad or soup)
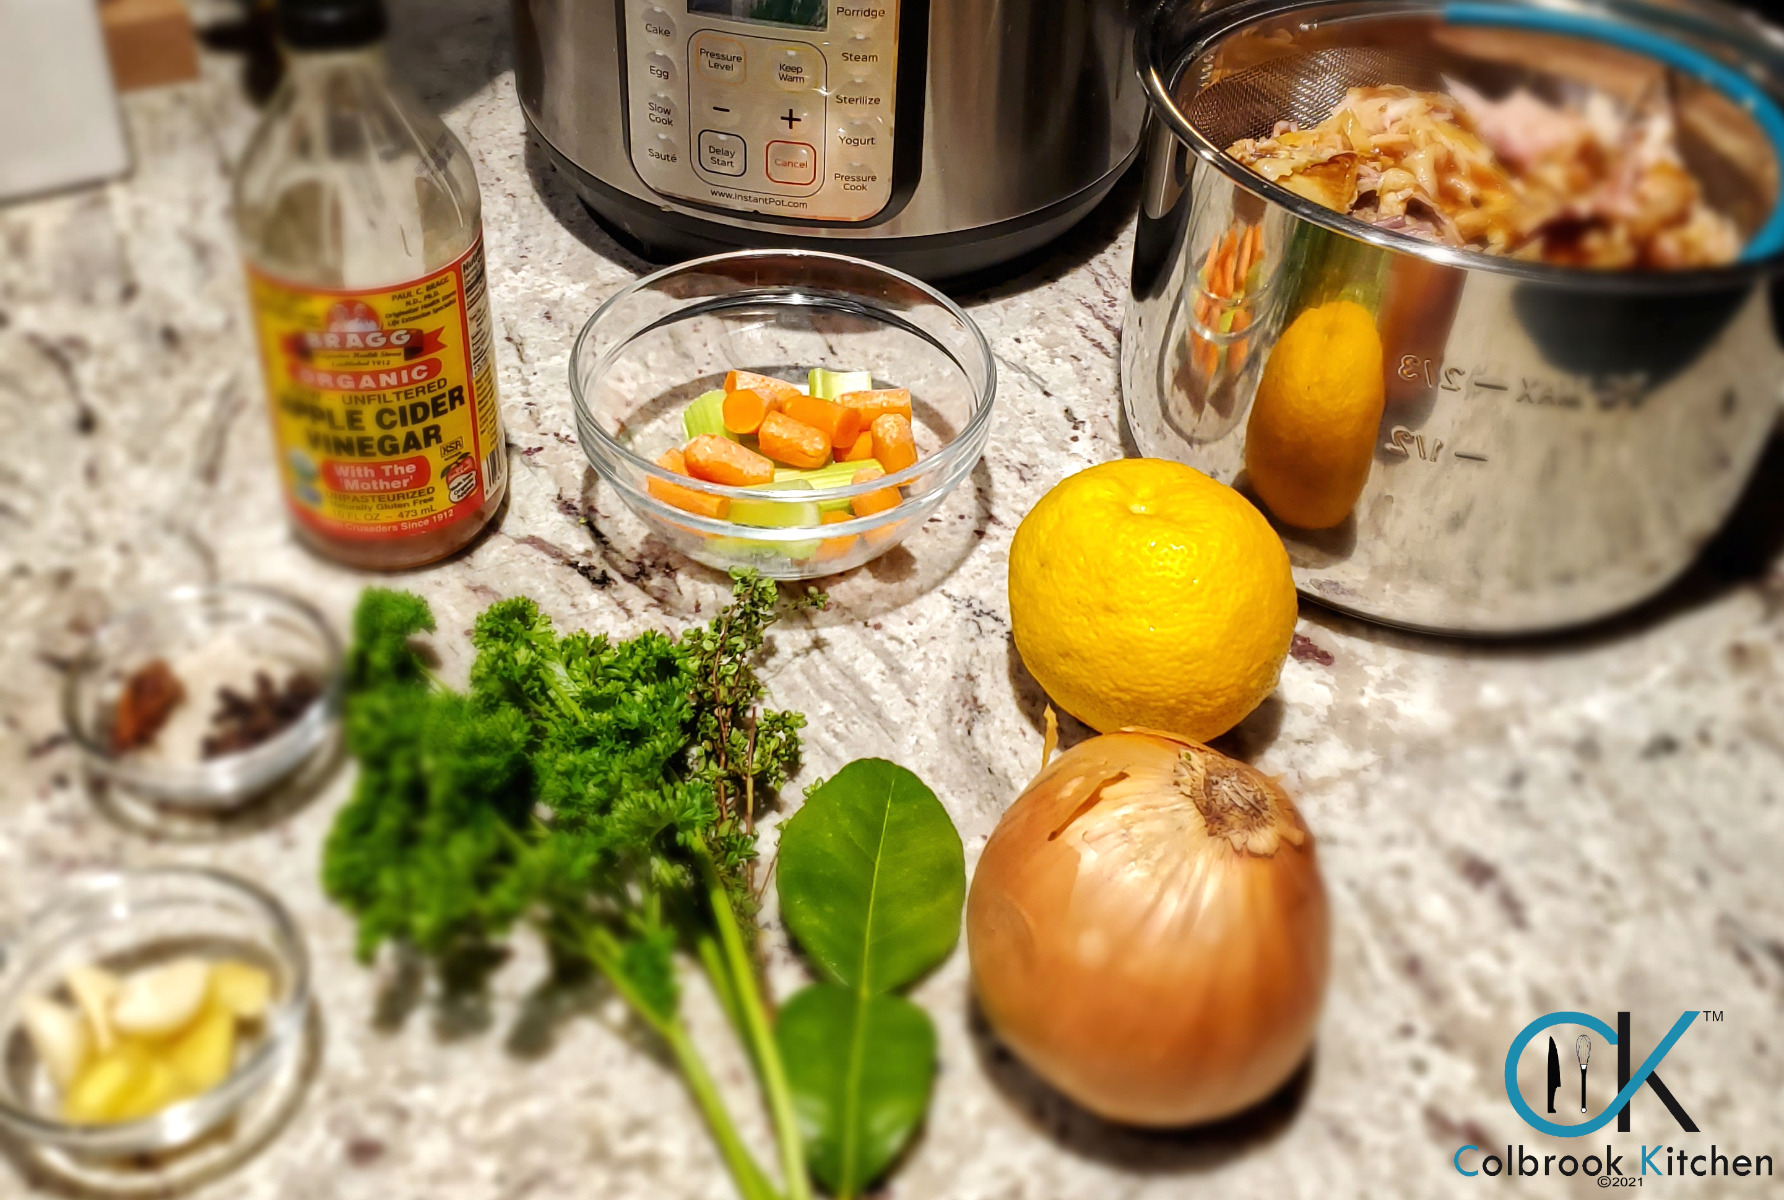
and the bones to be turned into bone broth …
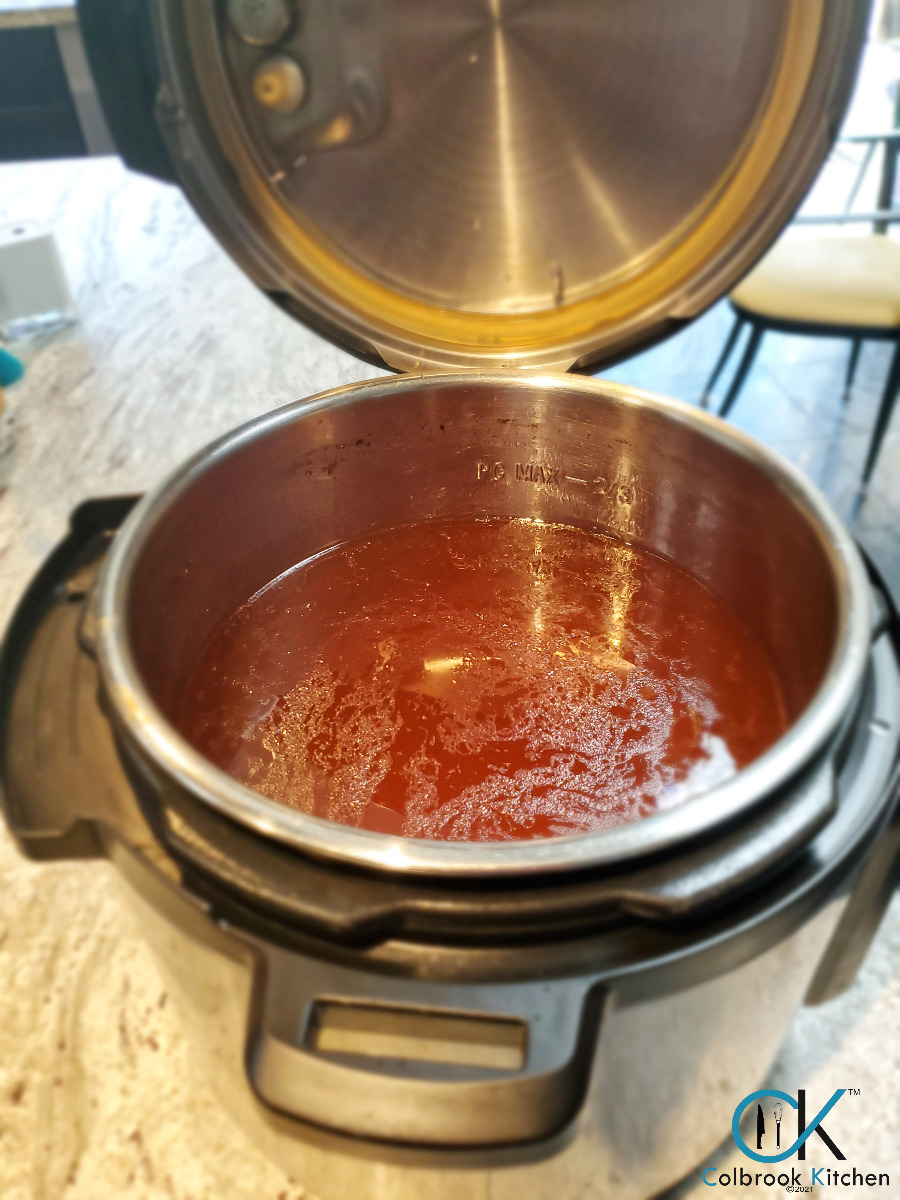
The bone broth cooks overnight in the pressure cooker setting on the Instant Pot.
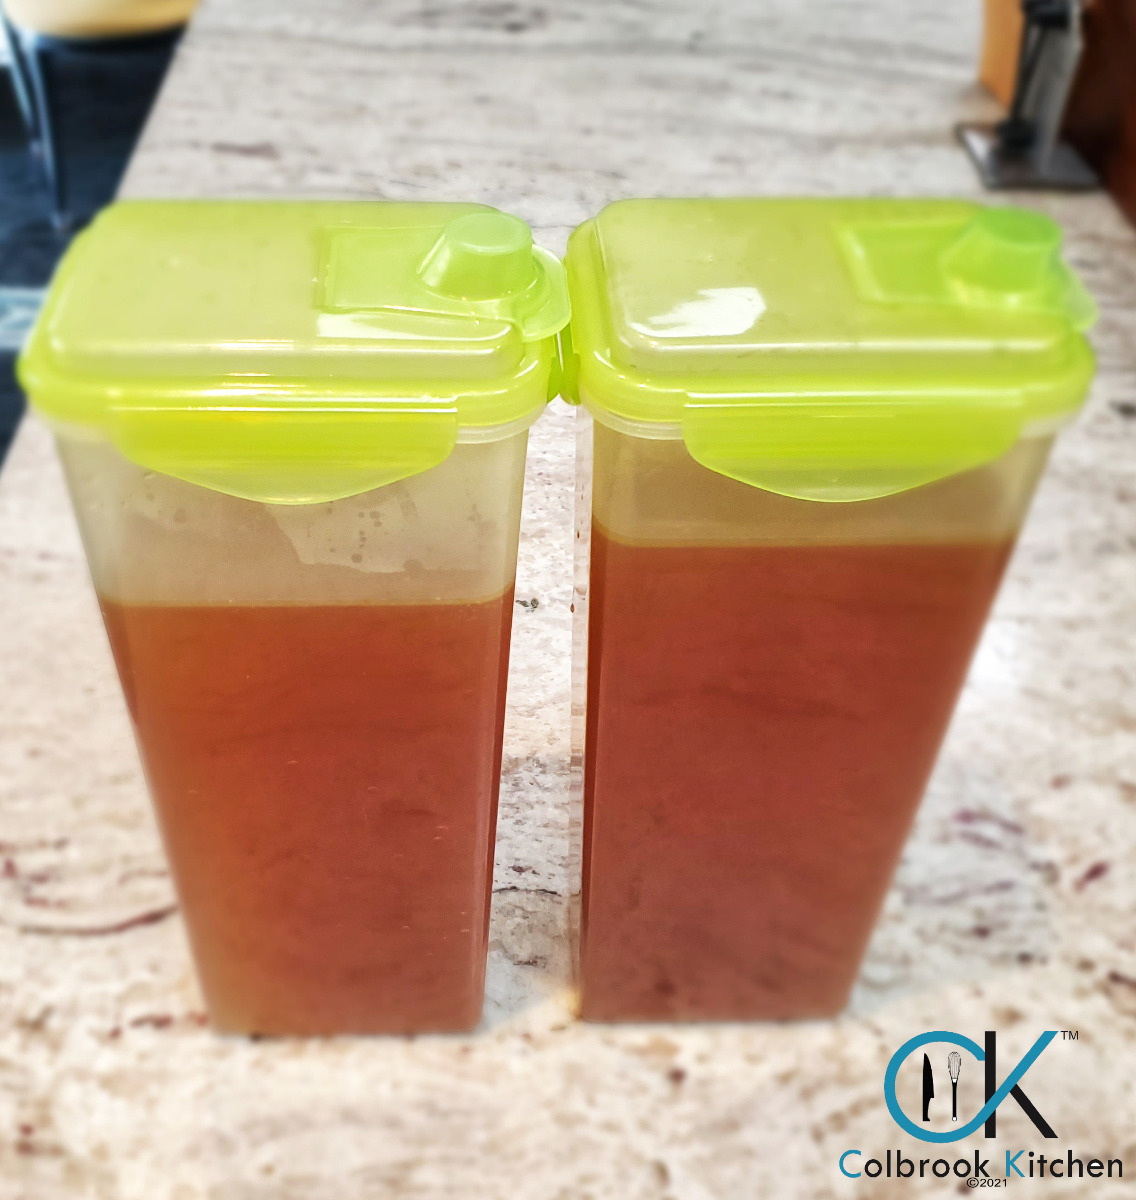
Which leaves me with a good quantity of chicken bone broth to make some of our favorite soups:
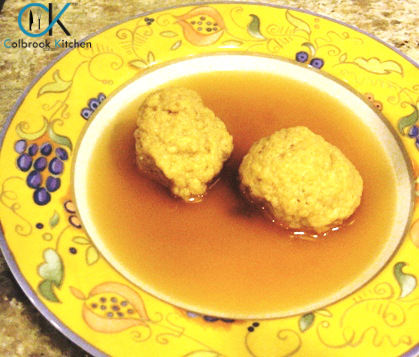
Matzoh Ball Soup

Thai Shrimp, Pork and Chicken Soup with Jalapenos
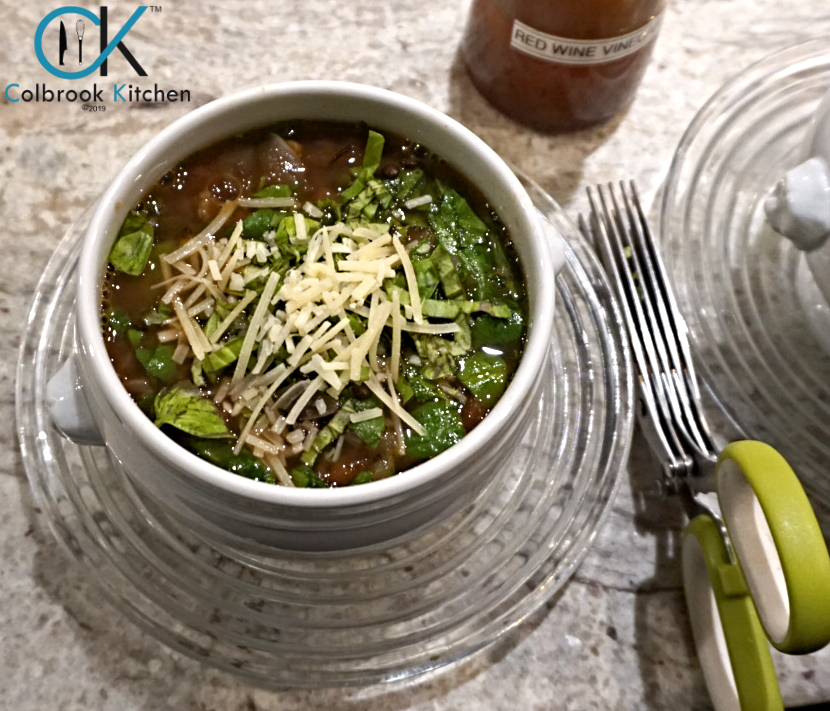
Slow Cooker Lentil Soup with Sausage and Spinach
What do you do with a Rotisserie Chicken?
Posted in Cool Tippan class="mst-search__highlight">s By Piper Cole
Cool Tip: The Case for Fresh Pineapple

I was about 10 or 11 years old, when my family took our first vacation to California from Chicago; and that was the first time I had fresh pineapple. Wow, it blew away the canned stuff I was used to (sorry Dole!). It was sweet and tart and juicy and just plain delicious … and it still is. It’s sunshine in a bowl! So what a treat to learn that it’s healthy as well.
In a Healthline article, the author lists the following key health benefits of pineapple:
-
Pineapples contain large amounts of Vitamin C and Manganese. “Vitamin C is essential for growth and development, a healthy immune system and aiding the absorption of iron from the diet. Meanwhile, manganese is a naturally occurring mineral that aids growth, maintains a healthy metabolism and has antioxidant properties.”
-
Pineapples are loaded with antioxidants. “Pineapples are a good source of antioxidants, which may reduce the risk of chronic diseases such as heart disease, diabetes and certain cancers. Many of the antioxidants in pineapple are bound, so they may have longer lasting effects.”
-
Pineapples contain digestive enzymes (which, by the way, is the reason not to use fresh pineapple in Jello). “Pineapples contain bromelain, a group of digestive enzymes that breaks down proteins. This may aid digestion, especially in those with pancreatic insufficiency.”
-
Pineapples may reduce the risk of cancer. “Pineapple contains compounds that reduce oxidative stress and inflammation, both of which are linked to cancer. One of these compounds is the enzyme bromelain, which may stimulate cell death in certain cancer cells and aid white blood cell function.”
-
“Pineapples have anti-inflammatory properties that may boost the immune system.”
Now that you know the pineapple is good for you, we’ve provided you with advice on how to choopan class="mst-search__highlight">se a pineapple, and we’ve found a Cool Tool to make preparing a pineapple so much easier, ... what are you waiting for? Enjoy!
Posted in Cool Tippan class="mst-search__highlight">s By Piper Cole
English Muffins, which are neither English nor muffins (at least not in the American blueberry muffin genre) are one of the most popular breakfast breads in the US. Whether you top them with marmalade, peanut butter, lemon curd or a poached egg and hollandaise, they are a much-loved breakfast treat. But what do you know about their origins, and, more importantly, what makes them so special?
Did you know, for example, that they are not baked, but rather cooked on a griddle? And while the idea of a round, yeast-risen bread cooked in a ring mold on a griddle dates back to tenth or eleventh century Wales, the modern English Muffin was created by Samuel B. Thomas in the late nineteenth century in New York. (10 Things You Didn’t Know About Englipan class="mst-search__highlight">sh Muffins)
But the things that make English Muffins so very special are the “Nooks and Crannies”, a term that Bimbo Bakeries USA, Thomas’ English Muffins’ parent company, trademarked to describe the open grain and texture that is unique to English Muffins. The “Nooks and Crannies” allow the muffin to create a texture, when toasted, that almost crackles with goodness and crunch because of the little peaks and valleys on the surface of the split muffin.
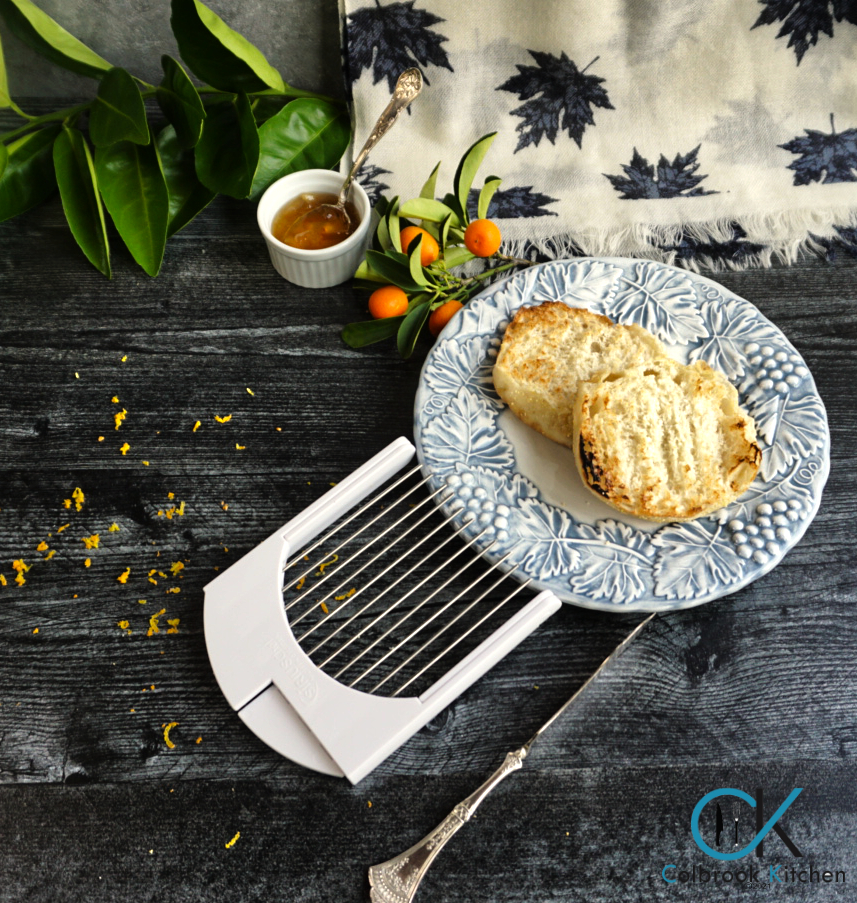
And that brings us to the discussion of how you split a muffin. The creators of the English Muffin (both original and of later versions--the Model Bakery in St. Helena, CA makes one of our favorite versions) have gone to a great deal of trouble to create a texture with peaks and valleys that give English Muffins their unique appeal. Cutting an English Muffin with a knife is tantamount to “peakacide”: it destroys the peaks and robs the muffins of their delightful character.
Here is the guidance for splitting a muffin from the Thomas’ English Muffin site: “First, use your hands. Find a crease on the side and pull the muffin apart. If you prefer, you can use your fork. Just poke a hole in three sides of the muffin with a fork and pull apart. Do not use a knife. This cuts away the delicious "Nooks & Crannies" texture. Place each side of the English muffin in separate toaster slots to toast all sides evenly.”
While this guidance works, we think we’ve found a better way. Check out the pan class="mst-search__highlight">Sirius Chef Muffin Splitter on Colbrook Kitchen, and take your breakfast to a whole new level!
Enjoy!
Posted in Cool Tippan class="mst-search__highlight">s By Piper Cole
Posted in Recipepan class="mst-search__highlight">s By Piper Cole